

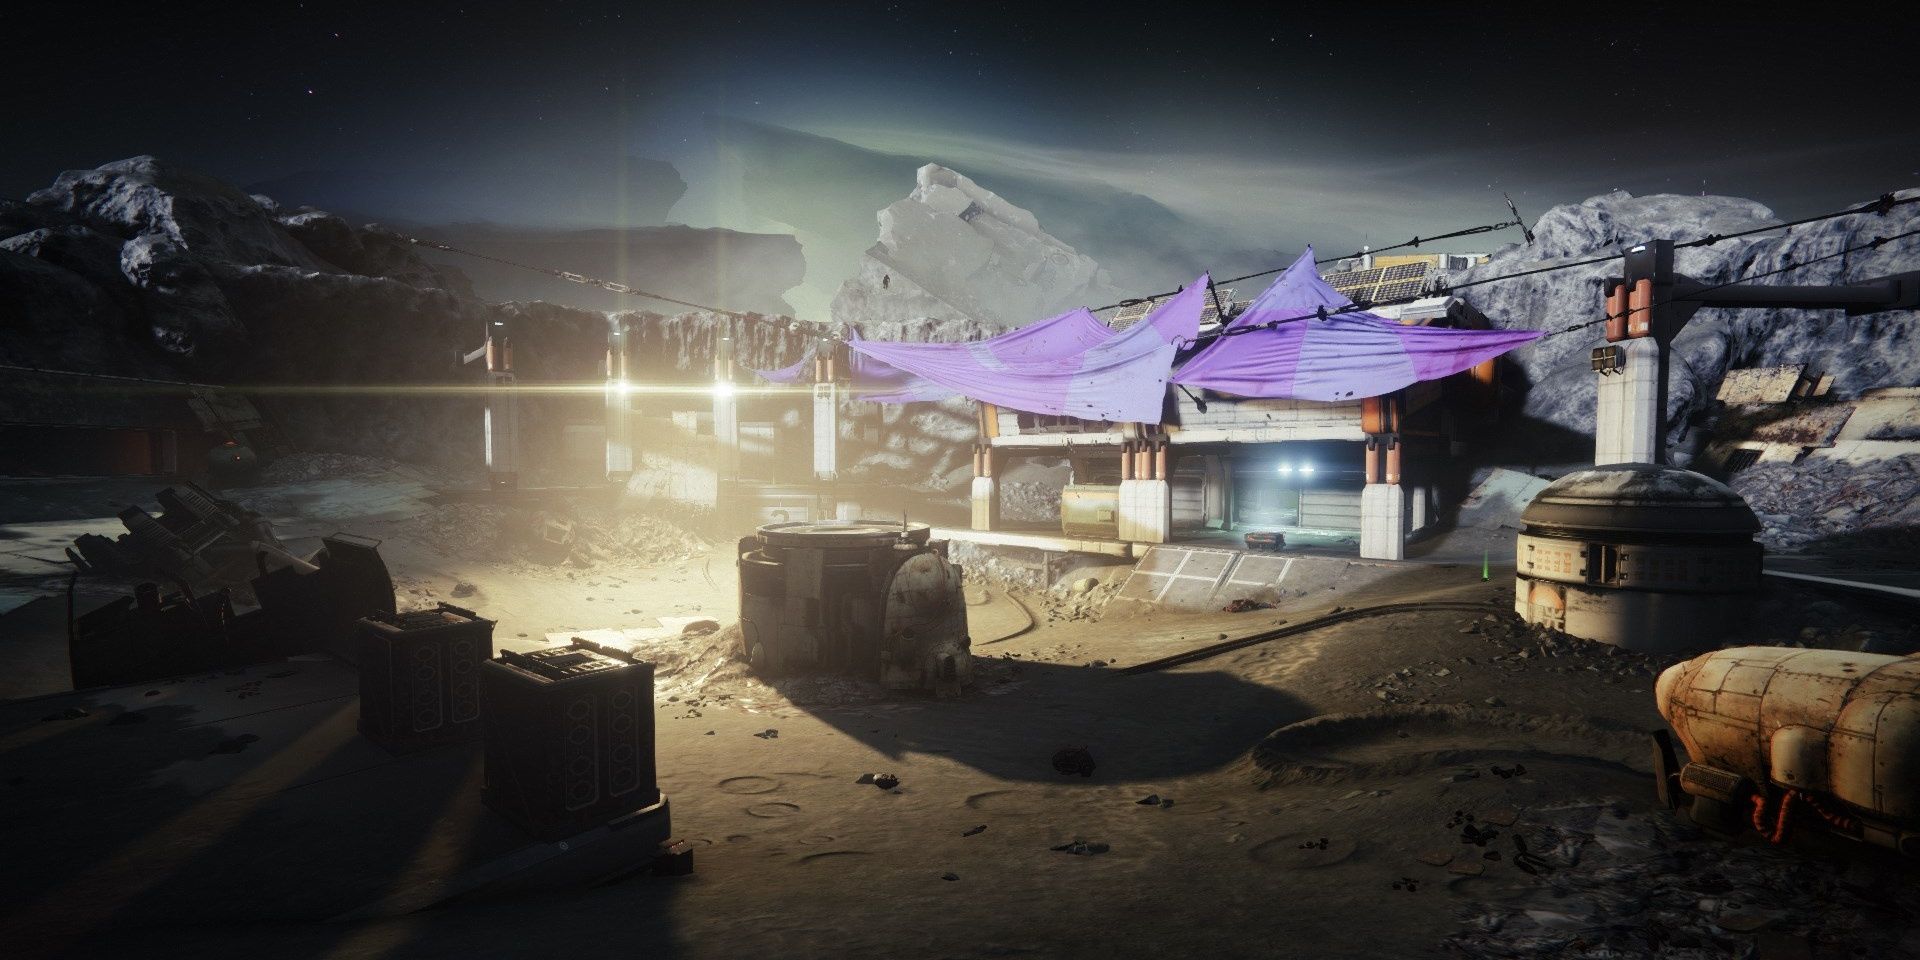
K1 Logistics Lost Sector Location
Quick Links
- Modifiers And Recommended Loadout
- A Detailed Guide: Entrance
- A Detailed Guide: Garage
- A Detailed Guide: Hallway
- A Detailed Guide: Dominate Arena
Destiny ii'southward Flavour of the Called has added the Moon'south Lost Sectors into the Legendary Lost Sector rotation. These Lost Sectors are roughshod, containing substantially more than enemies than virtually Lost Sectors. Await to fight dozens of Fallen as you dauntless through these missions.
The showtime Master Lost Sector of the bunch, K1 Logistics, will most likely be the easiest of the bunch. 9 Champions dot this claustrophobic Lost Sector, so you'll need to bring your A-game if you lot're underleveled. Fortunately, there are quite a few weapons and mods that make this easier to complete. Hither is our complete guide to beating the K1 Logistics Lost Sector on Principal difficulty in Destiny ii.
Updated July 30th, 2021, by Charles Burgar: Some of Season of the Splicer's Artifact mods have made Legendary Lost Sectors significantly easier to farm. We've updated this Lost Sector guide to account for some of these mods and more recent weapons, assuasive you lot to farm this Lost Sector every bit apace and efficiently as possible.
Modifiers And Recommended Loadout
K1 Logistics is a rather curt Lost Sector filled with Champions and deadly Fallen enemies. If you are significantly underleveled, play this mission equally charily as possible. Here's what you'll be dealing with:
K1 Logistics Modifiers
| Master Difficulty |
|
| Champions |
|
| Faction Modifier |
|
| Destination Modifier |
|
| Master Modifier |
|
| Burn |
|
| Shields |
|
Not many Captains announced during this Lost Sector, so focus on bringing a Solar Chief or bracket. Since most of this Lost Sector is indoors, it's a good thought to bring a subclass that can easily reposition or deal serious damage over a small surface area. Warmind Cells do wonders here. Void Heavy weapons are also recommended due to the burn.
Subclass
| Hunter |
|
|---|---|
| Warlock |
|
| Titan |
|
Weapons
| Empty Vessel | Counters Solar shields and tin can debuff enemies if Breach and Clear is equipped. |
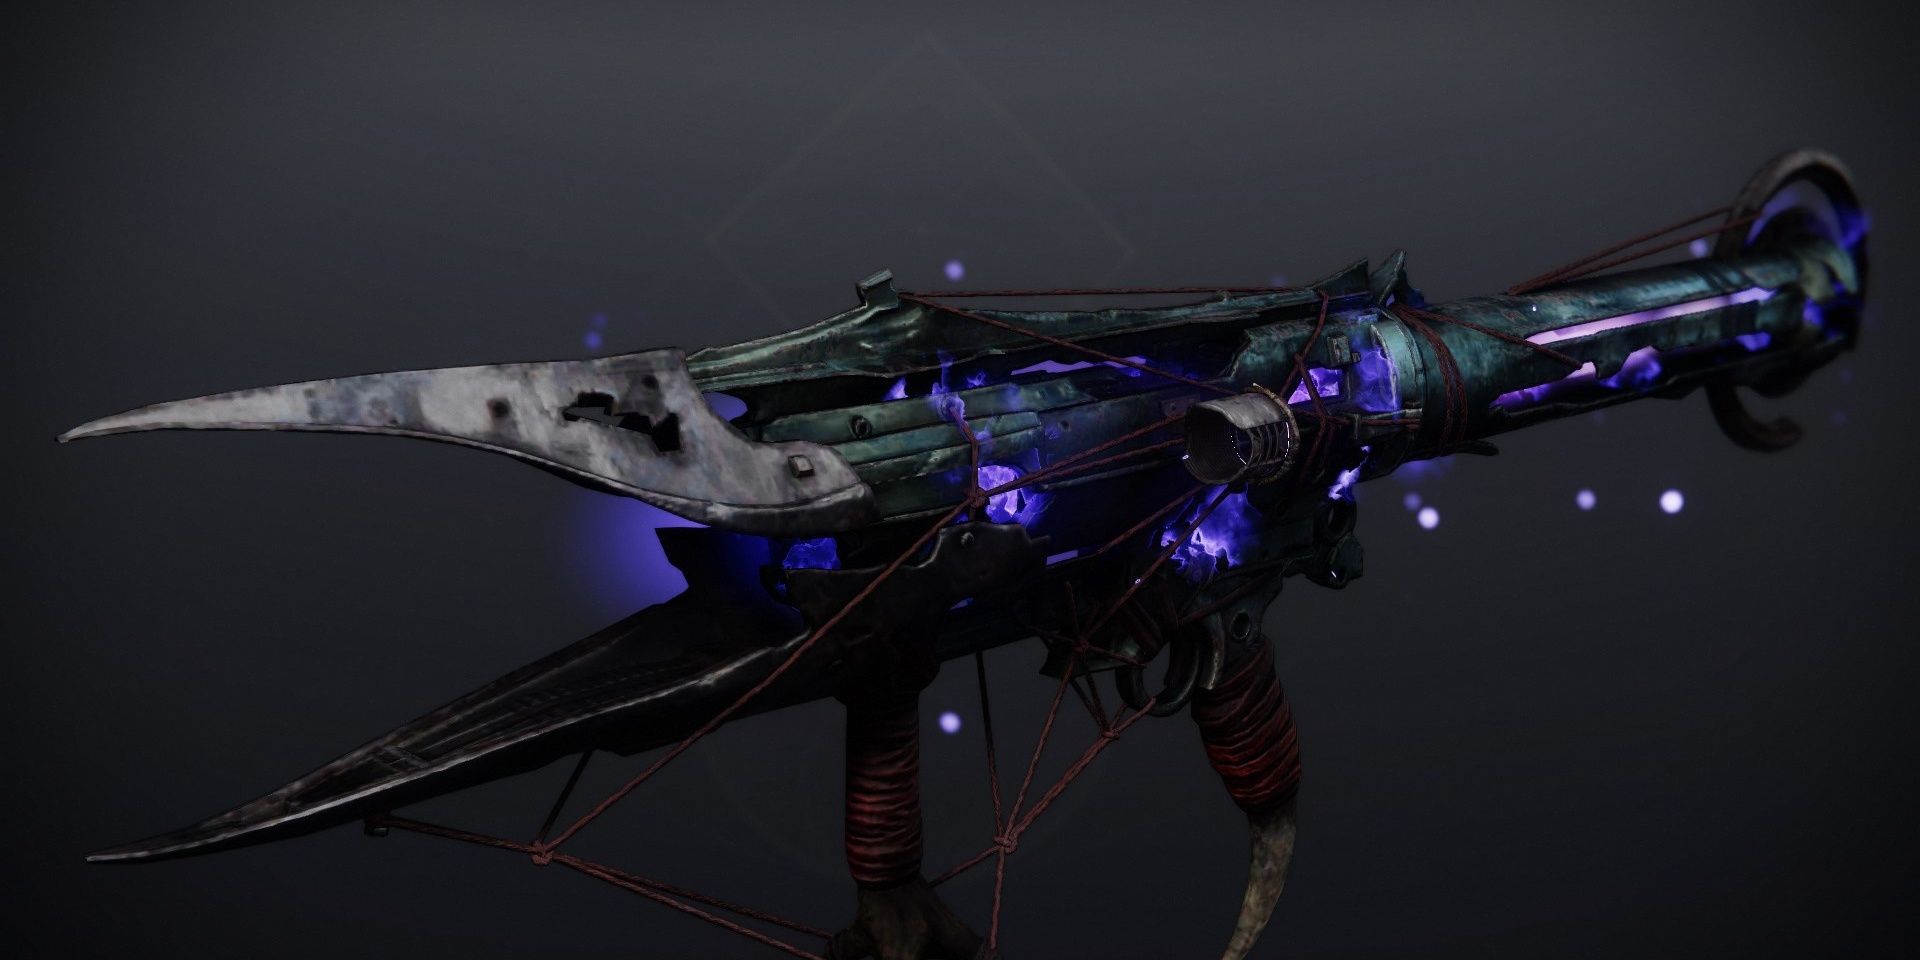
| Void Rocket Launchers | The all-time Heavy for this activity. Bring Deathbringer, Truth, or your favorite Legendary Void RL. |
| IKELOS_SMG_v1.0.2 | Deals skillful harm, breaks Arc shields, and tin can spawn Warmind Cells |
Mods
| Protective Light | Gain a 50% damage resistance buff when your shields break, consuming all Charged with Light stacks. |
| Warmind Cells Mods | Warmind Cells trivialize this Lost Sector. Consider using Global Reach, Wrath of Rasputin, and Warmind's Protection. |
| Breach and Clear | If you're using a GL at all, you demand this mod. It makes Champions and bosses take 30% increased damage from all sources. |
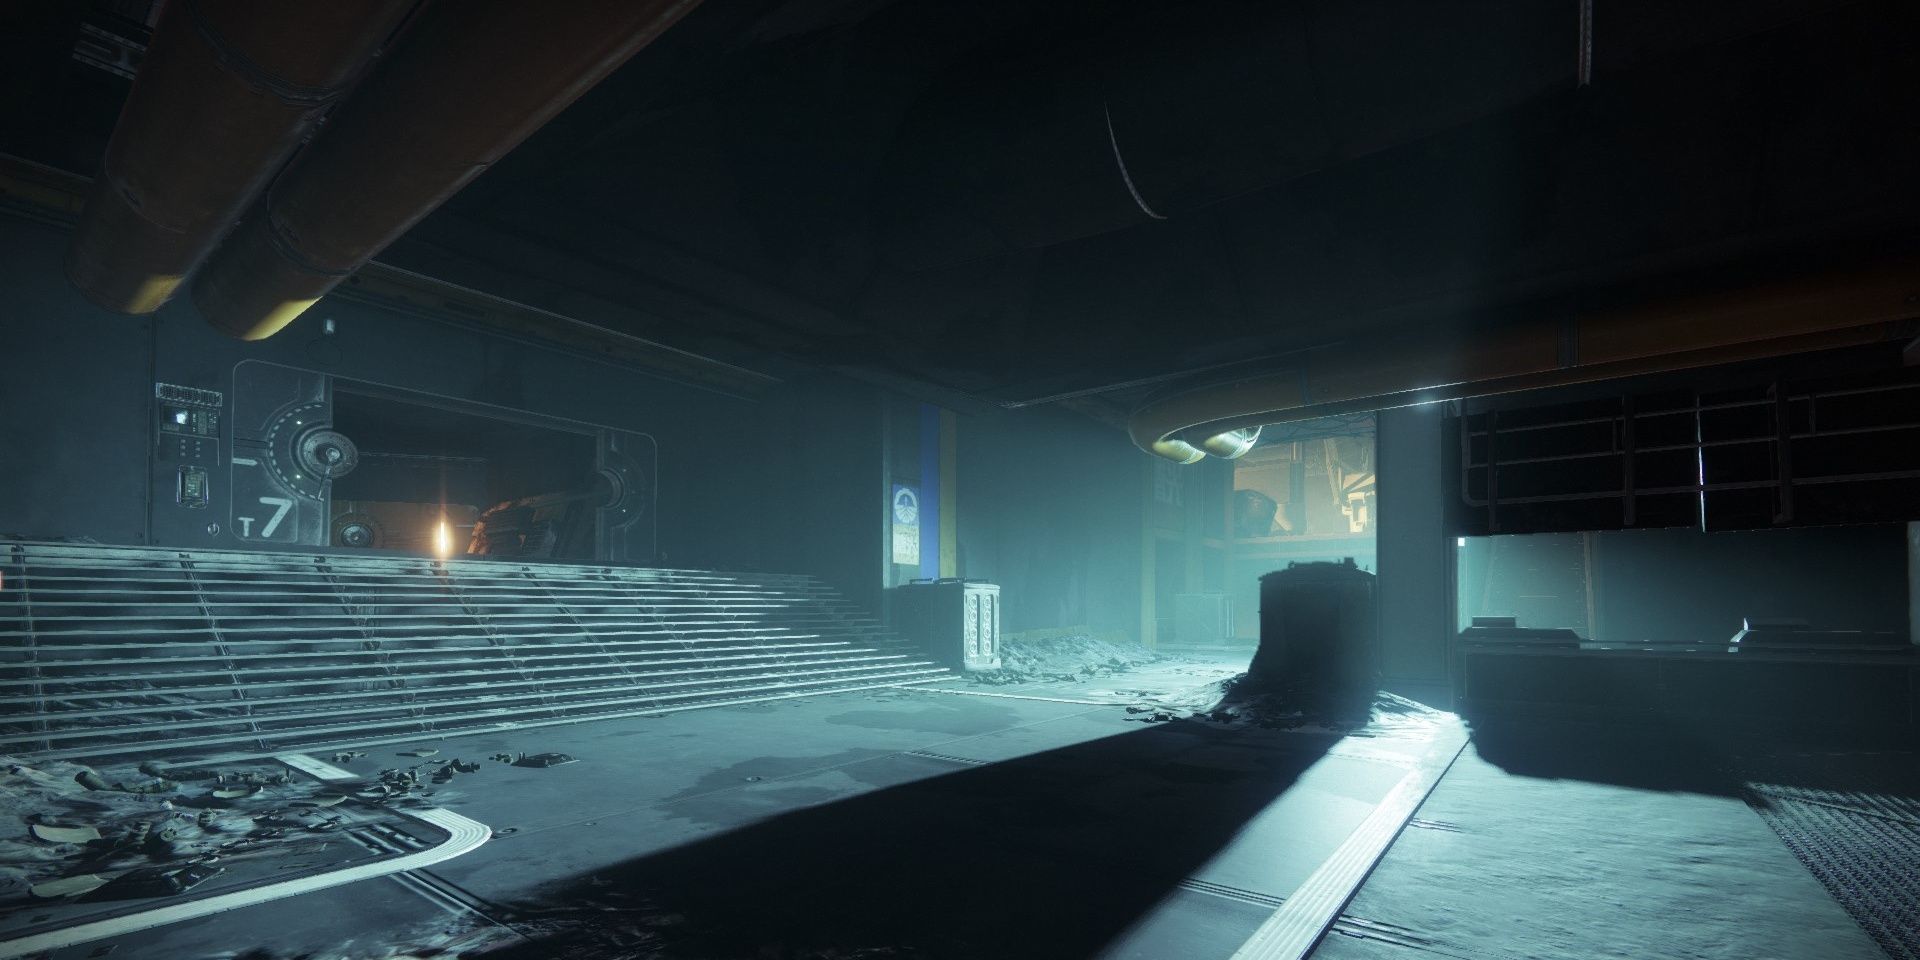
A Detailed Guide: Entrance
Entrance Enemies
- One Overload Helm
- I Barrier Servitor
- One Captain
- Marauders
- Vandals
- Dregs
Right as you spawn in, you will observe a pathway filled with Fallen tripmines. Shoot the meridian-right tripmine to blow all of them up. This should describe the attention of an Overload Champion at the end of the hall. Shoot it with an Overload weapon, and then kill it with your Heavy weapon.
Around the corner will be a few Vandals and a Bulwark Servitor. Since the Servitor is most likely making the Vandals immune, information technology's a expert thought to disrupt the Champion outset. Damage it until the Servitor deploys its shield, and then suspension it to remove the allowed tethers. Clean up the nearby Vandals, then focus on killing the Champion. Defeat the Captain and Dregs in the corner of the room, and so proceed upwards the stairs to the garage.
Note: If you do non impale the Barrier Servitor at present, information technology will retreat to the garage, making ane of that room'southward Overload Captains invulnerable. Focus on killing this Champion equally soon as possible.
A Detailed Guide: Garage
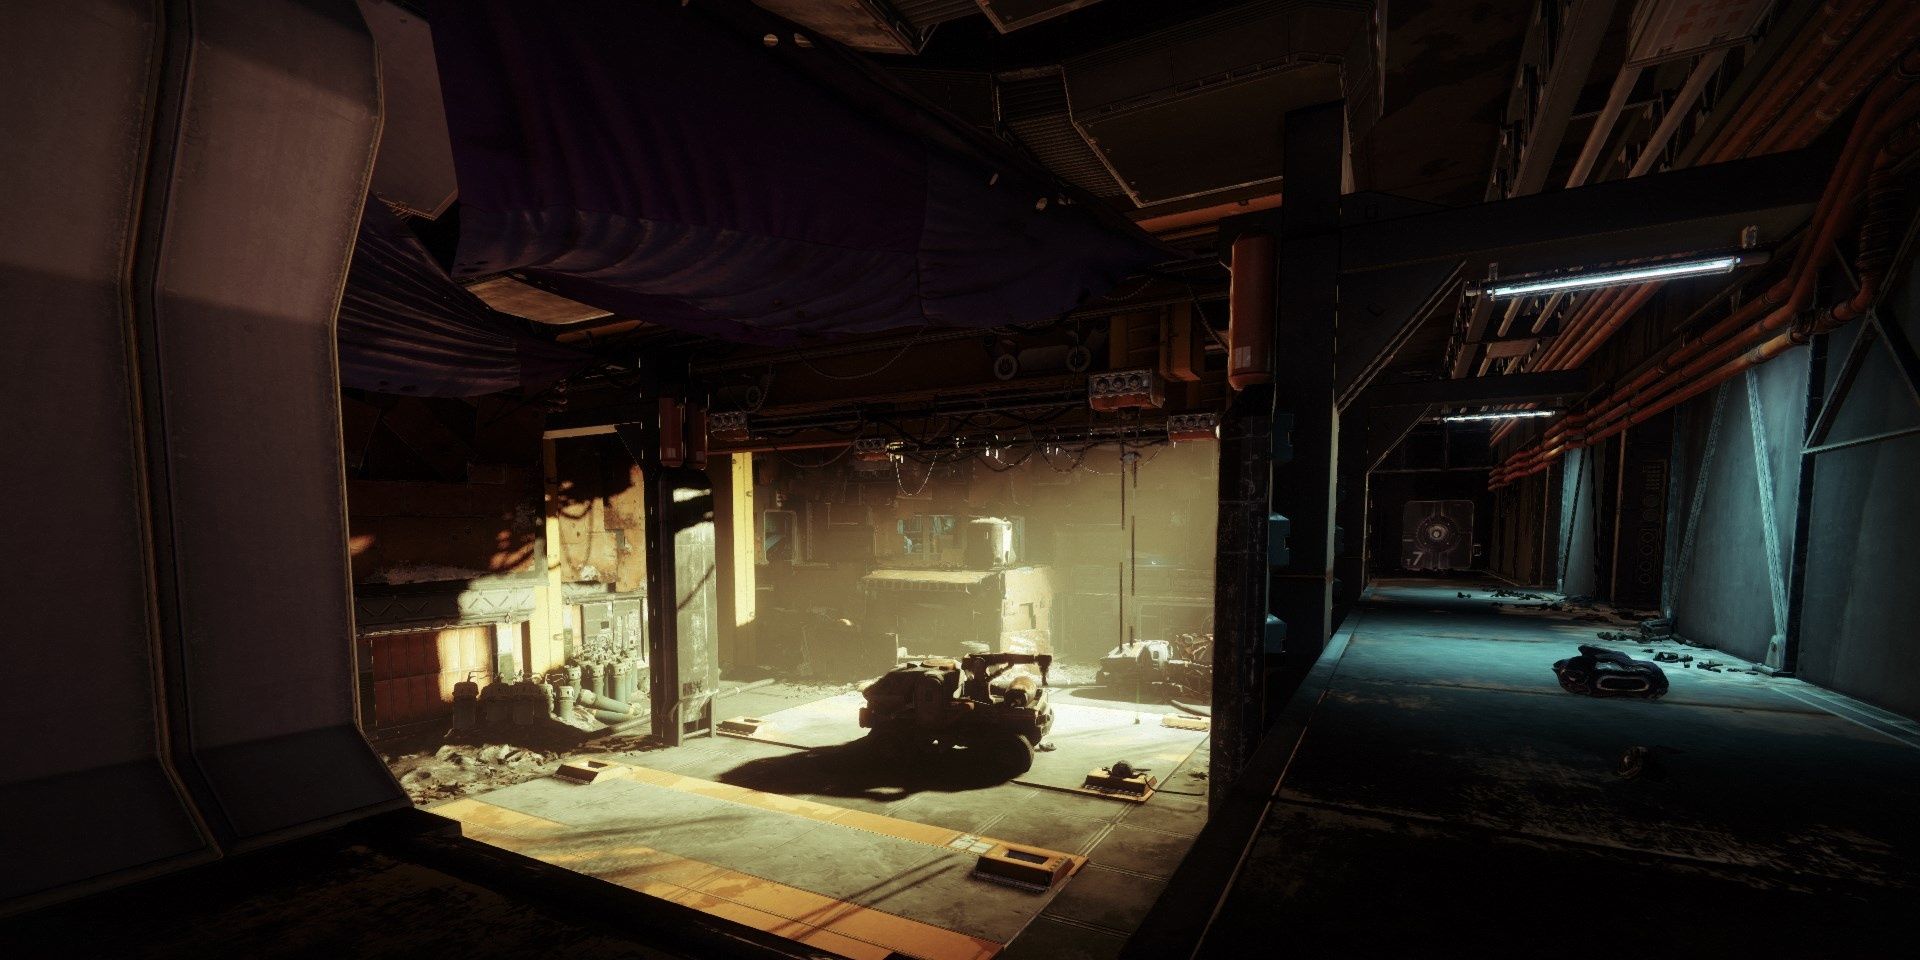
Garage Enemies
- Two Overload Captains
- 1 Barrier Servitor
- Tracer Shanks
- Explosive Shanks
- Vandals
- Dregs
Right up the stairs will be an Overload Captain guarded by a few Shanks with snipers. You can lure the Captain to the ledge overlooking the previous room, then stun him. Use any Heavy weapons to take him down. From in that location, apply a Solar weapon to suspension the Shank shields.
When y'all achieve the walkway on the correct side of the room, Explosive Shanks will spawn. Double back to the staircase, then choice them off one by one. An Overload Helm will push your position at this point, who might be immune past the Barrier Servitor on the lower flooring. If this happens, you'll need to juggle between damaging both of them, breaking the Servitor'south shields before stunning the Captain. Y'all tin forestall the Overload Captain from regaining its HP by shooting it with an Overload weapon, even if he is currently immune. It won't "stun" the Captain, but it will disable his health regeneration.
Destroy the Barrier Servitor on the lower level, and then defeat whatever remaining Fallen and Champions. Keep to the end of the room to enter a short hallway that leads to the concluding arena. Catch whatsoever ammo bricks earlier you leave this room; you'll need them.
A Detailed Guide: Hallway
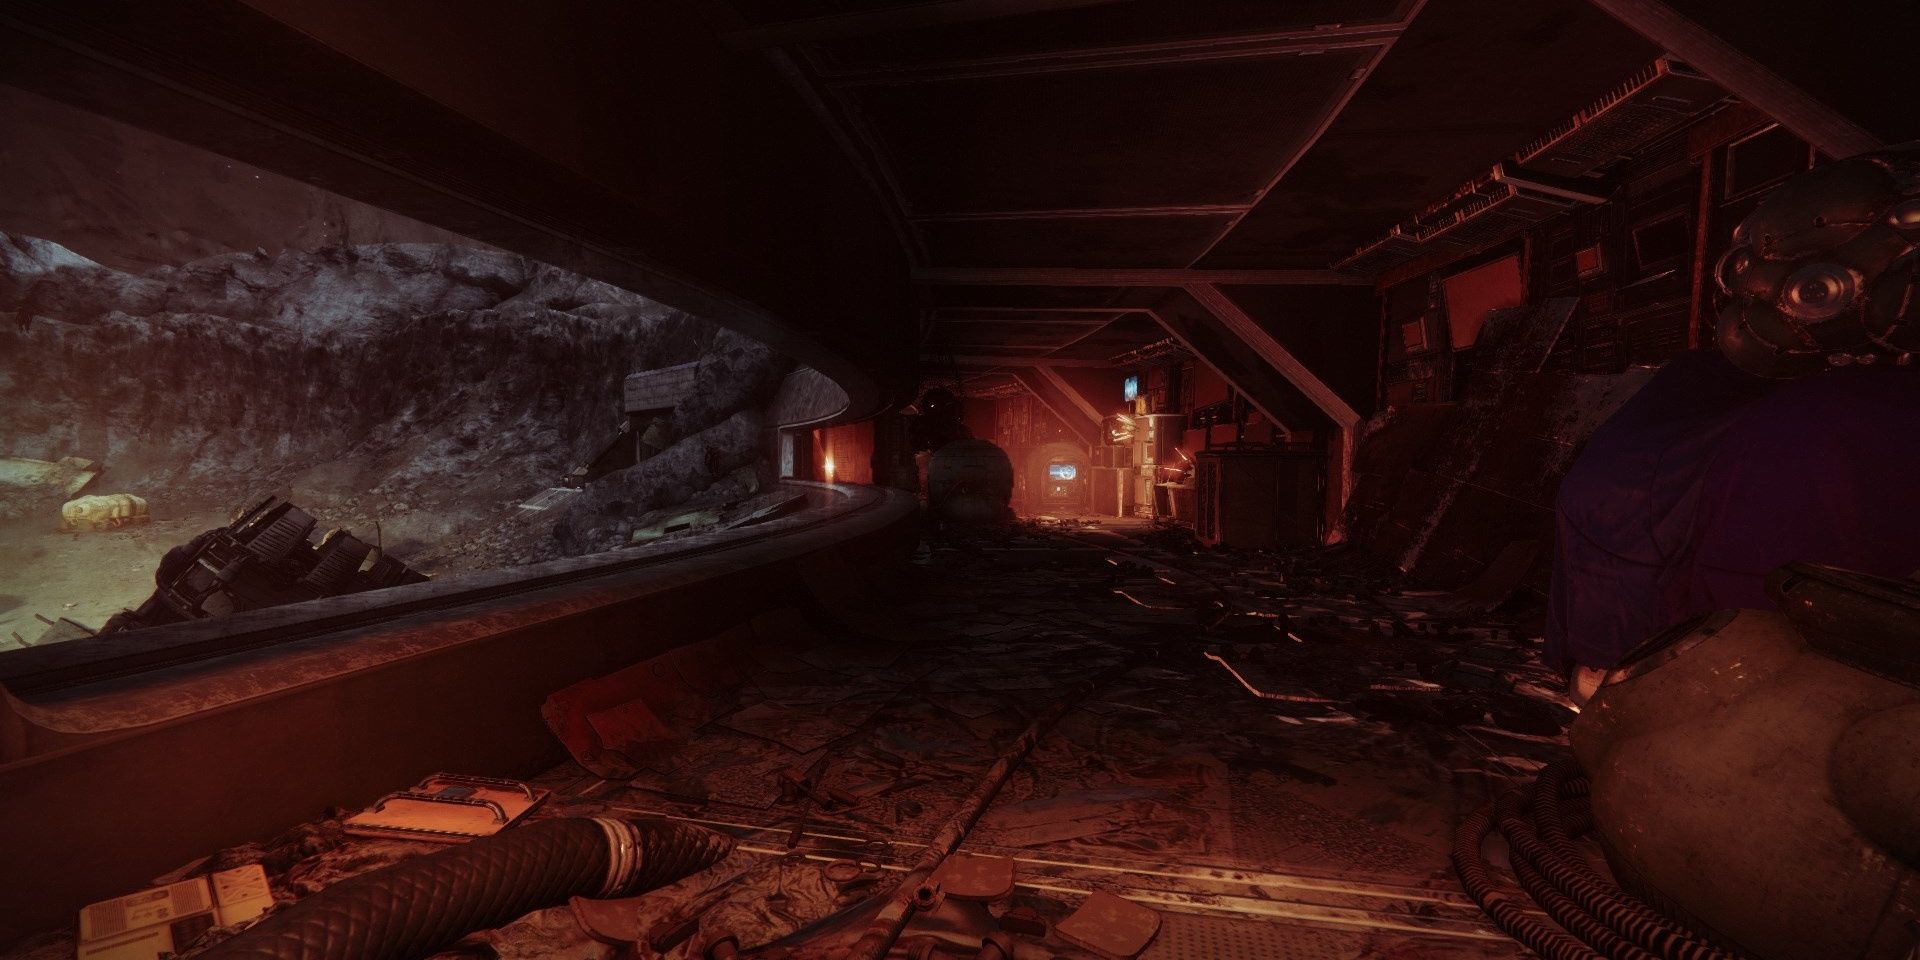
Hallway Enemies
- One Overload Captain
- Wretches
- Dregs
You'll be swarmed by a wave of Wretches and Dregs when you lot enter the hallway. An Overload Captain will spawn to help them, which puts you in a bad position. Use a Rocket Launcher or a grenade to clear out most of the fodder enemies. Stun the Champion, then kill him.
Suppose you didn't kill him in the first stun, strafe in and out of one of the Fallen boxes on the side of the room. Equally long every bit you lot have a high Mobility stat, the Captain tin't striking you while you do this. Stun it as many times equally needed before it dies.
When you reach the stop of the hall, throw a grenade to kill the trio of Wretches guarding the doorway. Run past their bodies to reach the final arena.
A Detailed Guide: Dominate Arena
Dominate Loonshit Enemies
- Servitor Boss
- Two Barrier Servitors
- Ane Overload Captain
- Nightmare Shanks
- Nightmare Dregs
- Tracer Shanks
- Captains
- Vandals
- Dregs
In that location's not much comprehend to work with here. The corner cover piece right outside of the hallway get out tin piece of work in a pinch, but you'll by and large have to stay mobile if you don't take a means of going invisible.
Your commencement priority should be to have out the Barrier Servitors in the center of the arena. Use your Special or Heavy weapons to take these enemies downward as fast as possible. When they're dead, the Servitor boss will spawn a modest wave of Shanks near it. To remove the invulnerability shield, you'll need to kill the Nightmare Shanks near the boss. A Solar weapon will shred their shields, opening them upward to a devastating rocket. Just kill these Shanks when the rest of the adds are dead; things will get out of hand if you lot don't.
When the Servitor becomes vulnerable, apply your Super or any weapons to remove the first third of its health. Information technology will so teleport to the left portion of the loonshit, spawning a new wave of Fallen. In this wave volition be an Overload Helm. Kill the Overload Helm as fast as you lot can, using Rockets or even a Super to take information technology down.
Clean up the rest of the adds near the Servitor, and then continue to nuke its health bar. At the last third of its health bar, the boss volition teleport to the right side of the loonshit, spawning even so another wave of Fallen. No Champions volition spawn this time, allowing you to focus solely on the boss. Defeat the Servitor, so grab the chest to cease the Lost Sector.
Source: https://www.thegamer.com/destiny-2-k1-logistics-master-lost-sector-guide/
0 Response to "K1 Logistics Lost Sector Location"
Post a Comment